Optimize Your Studio
Whether recording a podcast, music or a radio show, getting good sound at home can often be a difficult process. Luckily, there are a few simple things you can do to improve your setup. But before we jump into the tips, it is important to distinguish between ‘soundproofing’ and ‘acoustic treatment’.
Soundproofing refers to the construction of a room, using different construction materials in walls to reduce the amount of sound which escapes the room. Soundproofing is for scenarios where you might need to play loud and not annoy your neighbours.
Acoustic treatment differs from this; the aim instead is to create a certain acoustic environment. In production terms, the most common environments are the live room and control room. The live room is used for recording acoustic instruments and the control room is the playback space. A home studio is typically a hybrid of these two spaces, and very important for improving the sound quality of your recordings, as well as making mixing decisions in the post-production process.
We teamed up with Mixcloud to explore different ways to improve your home setup to be better set for recording and listening.
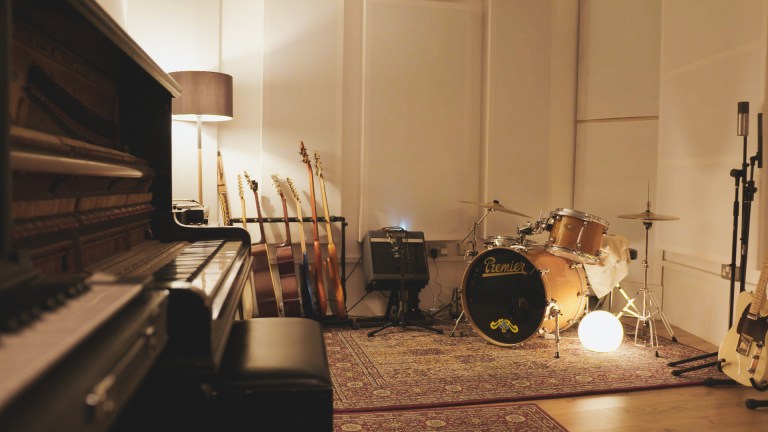
Adjusting Your Monitor Placement
If you have speakers, it’s important to have them in the right position within the room. Wrong placement can lead to boosts in parts of the frequency spectrum, usually in the low end, resulting in an unpleasant and inaccurate boomy sound.
To alleviate this, avoid having the speakers firing down the shortest wall of the room. If your room is rectangular, try adjusting your setup to be facing parallel with the longest wall, as illustrated below.
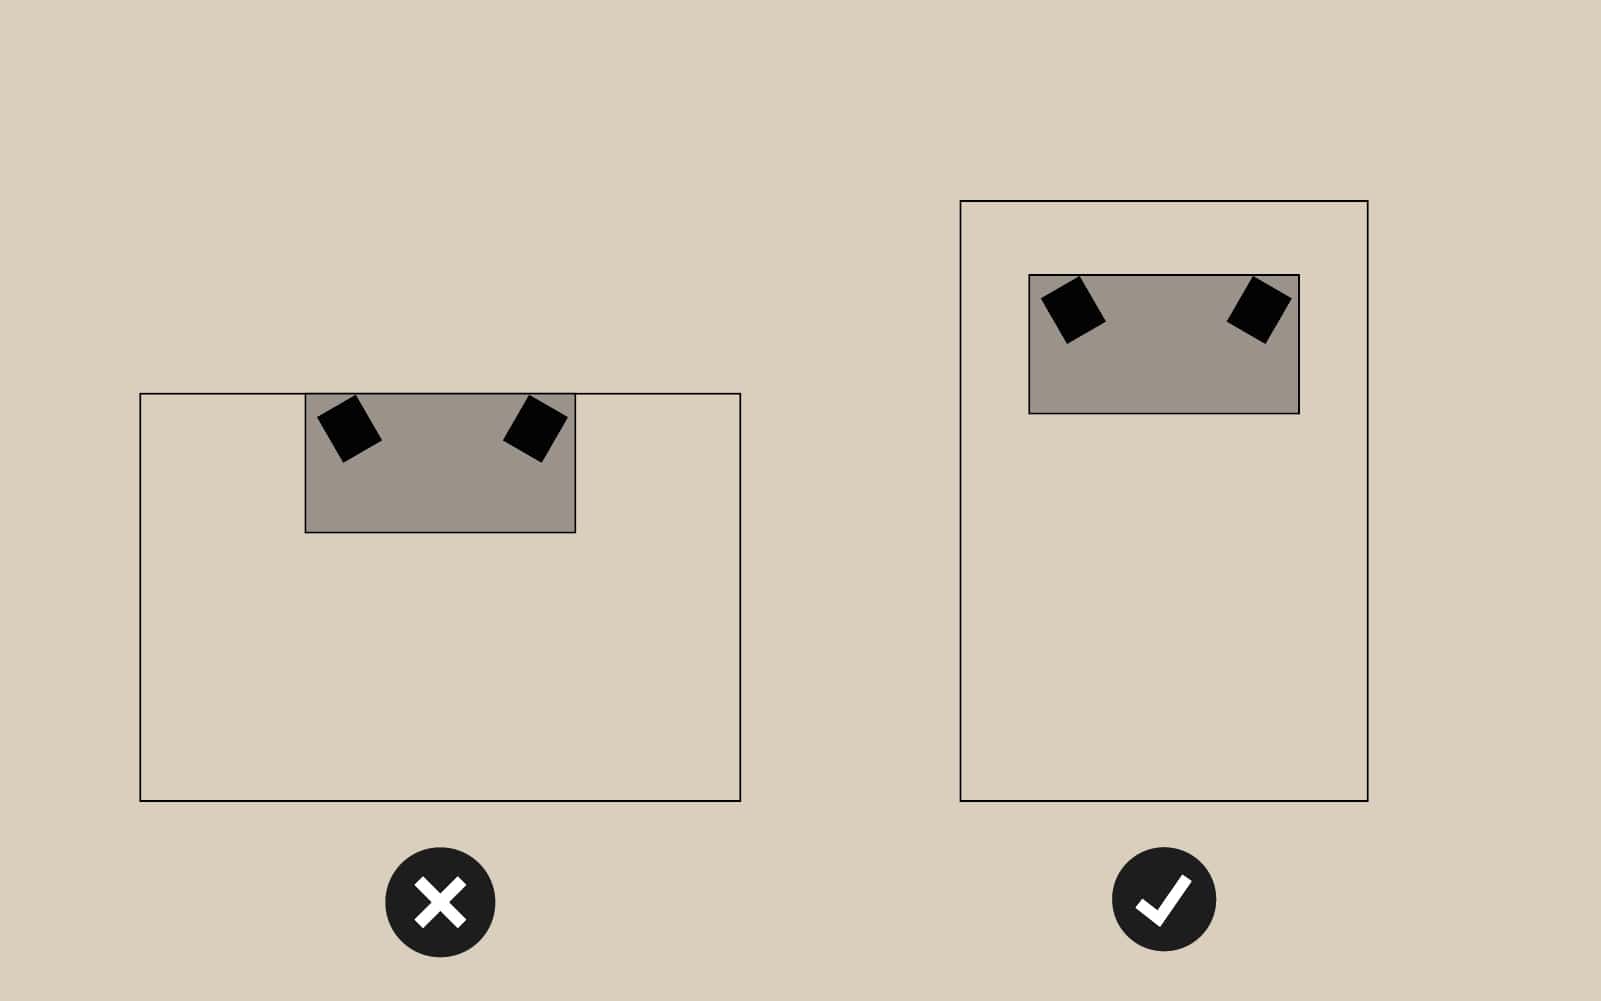
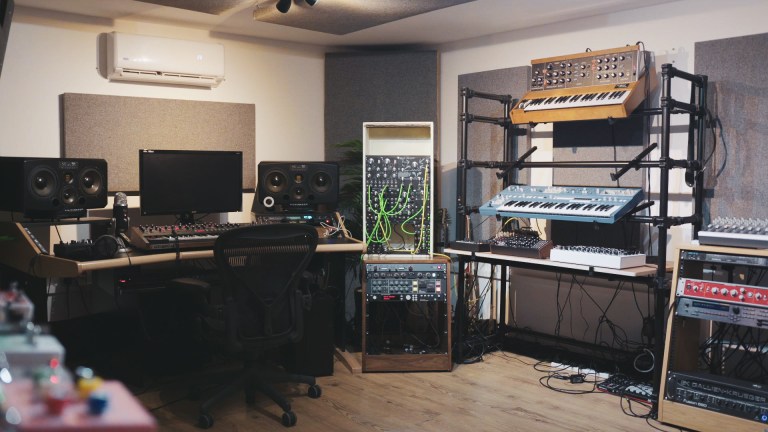
If you have the space, it’s best to create some space between the back wall and the speakers, (anywhere up to a meter if possible!) This helps to minimize sound reflections which occur from behind the speaker and bounce from the back wall and back to your ears – this problem generally creates problems in the low end.
Lastly, the angle at which you have your speakers is also an important factor. Try rotating them toward your listening position so that it creates an equilateral triangle.
Absorbing Reflection Points
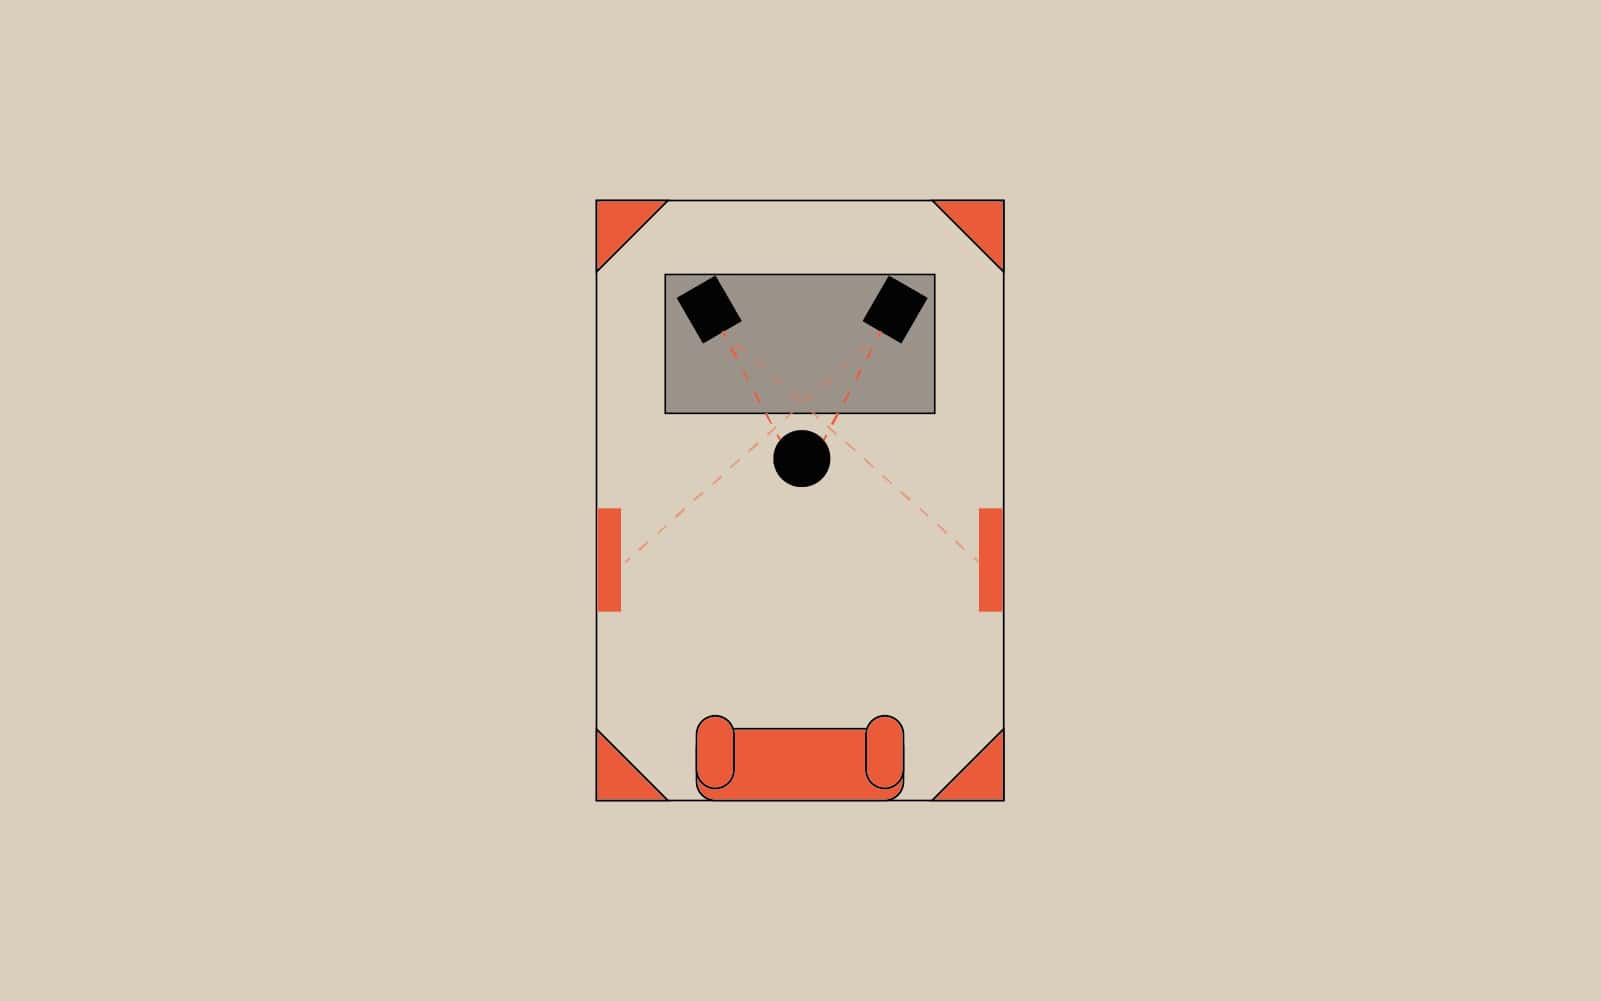
Given you’ve followed tip #1, your speakers will be sending sound waves directly towards you; this however is not the full story. The next point of contact for the sound wave will be the walls parallel to you. If left untreated, the flat surfaces will create points of reflection which continue throughout the room. A simple solution is to hang thick fabrics or absorbing panels in these areas.
Another problematic area are the corners in your room, where the low end can build up. Standard practice is to use ‘corner traps’, which break the right-angled corner space and are made from dense material (such as rockwool). Foam can be a good starting point, although generally the denser the material the better.
The last area of concern is the wall opposite your speakers. Using the same process, place a large, dense and absorbing object such as a sofa or bed. See below for a potential home setup –
Isolation or ‘Decoupling’
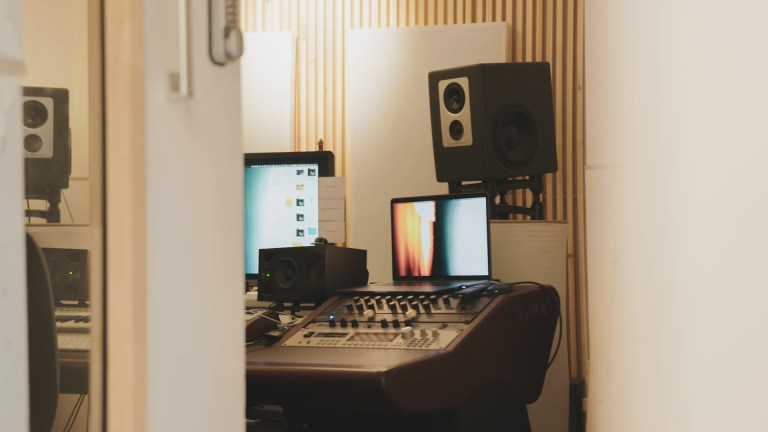
A common placement for your speakers is on your desk in front of you. One issue that arises is that the direct contact can cause the desk to vibrate with the speaker, creating unwanted rattling or resonant boosting.
An economical solution is to find materials such as foam or rubber to place underneath your speakers — there are also speaker insulation solutions which can be bought, however a stack of books could be an alternative. Extending from this, you can buy floor stands which are designed to entirely decouple the speaker from the rest of the setup, although this requires more space and can be more costly.
Blue Sky Thinking
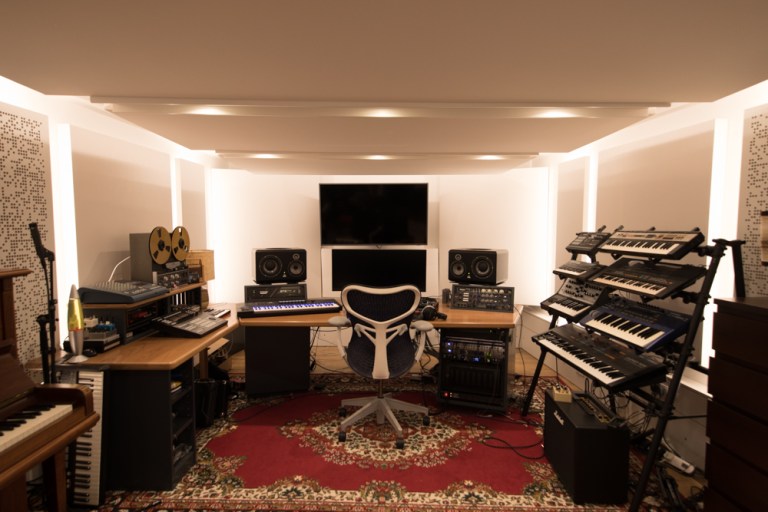
It’s time to think three dimensional. Whilst your walls are now set, it is good practice to treat your floor and ceiling if possible. You should aim to have at least one of the surfaces as non-reflective — a stylish solution is to lay a rug on the floor, or if you have carpet you’re already halfway there! Even better would be to hang panels from the ceiling (aka a ceiling cloud) — this of course might not be practical, so sticking to the floor is a good start.
Make Your Own Vocal Booth
Whereas the other tips help to optimise your listening experience, you might struggle to get good, clean recordings with your recording setup. Vocals are a common sound source for recording, so we’ll focus on this.
When recording vocals at home, you may find that you’re picking up too much background noise. This can be easily reduced by creating a vocal booth using a duvet. The duvet will act as a faux room partition, reducing the amount of ‘room tone’ which is picked up by the microphone, giving you a more direct sounding vocal; great for recording podcasts or vocals for music.
You could also use a combination of your wardrobe/clothes rail and duvet to complete the booth. If you’re looking for a more permanent solution, we’d recommend getting a reflection filter such as the Aston Halo.
At Ten87 Studios we offer long term studio hire and day hire music studios. Each recording studio is acoustically treated and sound proofed to optimise any type of audio recording and music production. We are home to a large community of musicians, producers, engineers and audio professionals working in the music industry. Our main day hire studio is a world class tracking facility equipped with the best in recording studio gear, instruments, outboard and backline. We’re based in Seven Sisters, Tottenham with easy transport links to the city centre – ideal for anyone looking for a London recording studio.
